Winter is here, and for construction managers and contractors that means it’s time to start thinking about how winter weather can impact your stormwater pollution prevention plan (SWPPP). That also means it’s time to implement BMPs designed to protect against some of the most common risks related to winter weather, whether you are able to continue construction or you are planning to pause until the weather is better.
Step 1: Assess your site based on local weather predictions.
The first step in any SWPPP is to figure out exactly what is going on with the site, where you are at in the construction, and what the weather forecast is likely to be. It’s important to remember that predictions are just that—guesses, essentially—and just because it’s likely to be warmer, drier, or better than a normal year doesn’t mean you can avoid preparations.
Step 2: Determine if your site is going to shut down or remain active.
Some sites have to shut down entirely as soon as winter weather arrives, while others are able to maintain active construction. It’s important to determine which one applies to your site because your preparation, reporting, inspection, and recordkeeping requirements will be different based on what is happening. If you are shutting down for the winter, all your parking, staging, and road areas will also require stabilization.
Step 3: Establish stabilization methods as soon as possible.
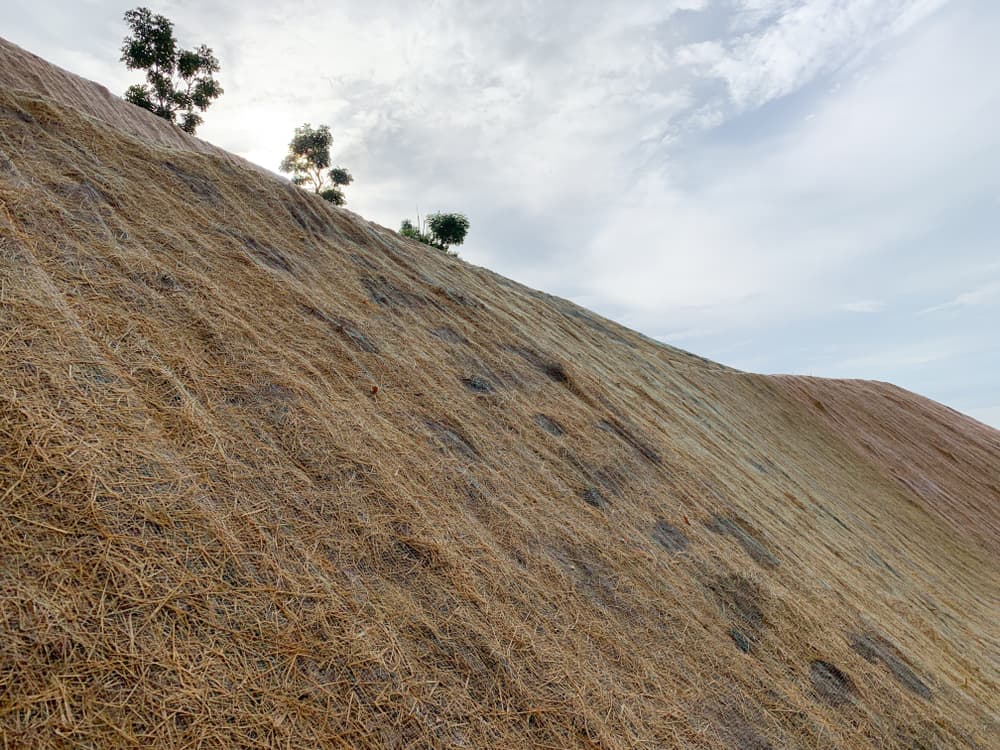
It may not be too late to add some vegetation that can help provide a buffer against stormwater drainage in your area. However, it’s important to understand how long it will take to be established, and whether you need to consider other quicker options instead—generally it’s best if you have your winter vegetation in place by mid- to late October, although in some years the freezing temperatures will hold off well into November. You can also use seed and straw as temporary stabilization tools to keep stormwater drainage at a minimum on your site, or use erosion control blankets, mulch, or some combination of the two, depending on the slope and the site.
Step 4: Prepare a snow management and storage plan.
In areas where it’s likely to snow, you will need a plan for how you will clear snow from the site, where it will be stored, and how it will drain as it melts. Additional runoff management activities may be required in the place where you plan to move and store the snow after it falls.
Step 5: Inspect, inspect, then inspect again.
Winter weather is unpredictable, so even with the best plans it is critical that you have a schedule for inspections to ensure that your erosion control is holding up. Beyond your scheduled site inspections, make sure your team knows the process and is able to inspect after any heavy snowfall or rainfall, and properly document any issues to be addressed right away. On some sites, it may be necessary to inspect every single day during the winter months.
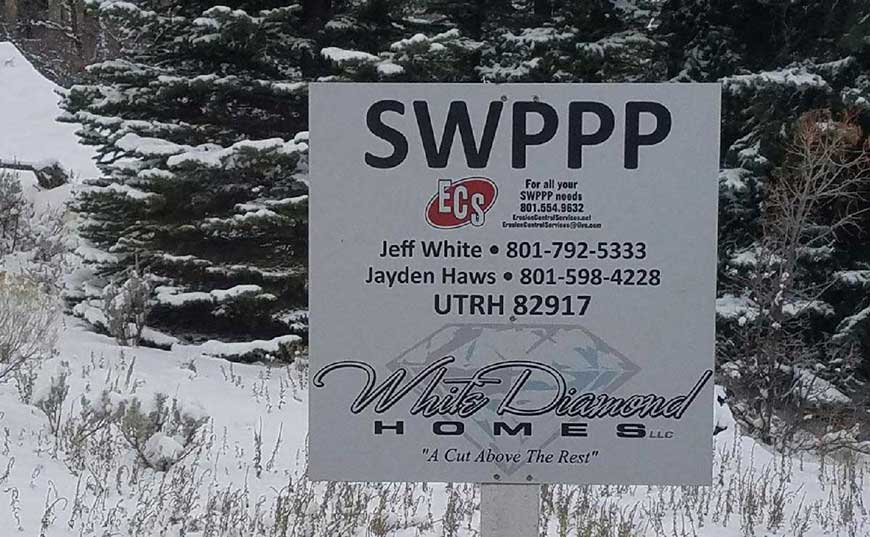
If you need guidance on winter weather SWPPPs, reach out to Erosion Control Services in Utah. We’re here to help with all your stormwater pollution prevention plan needs.